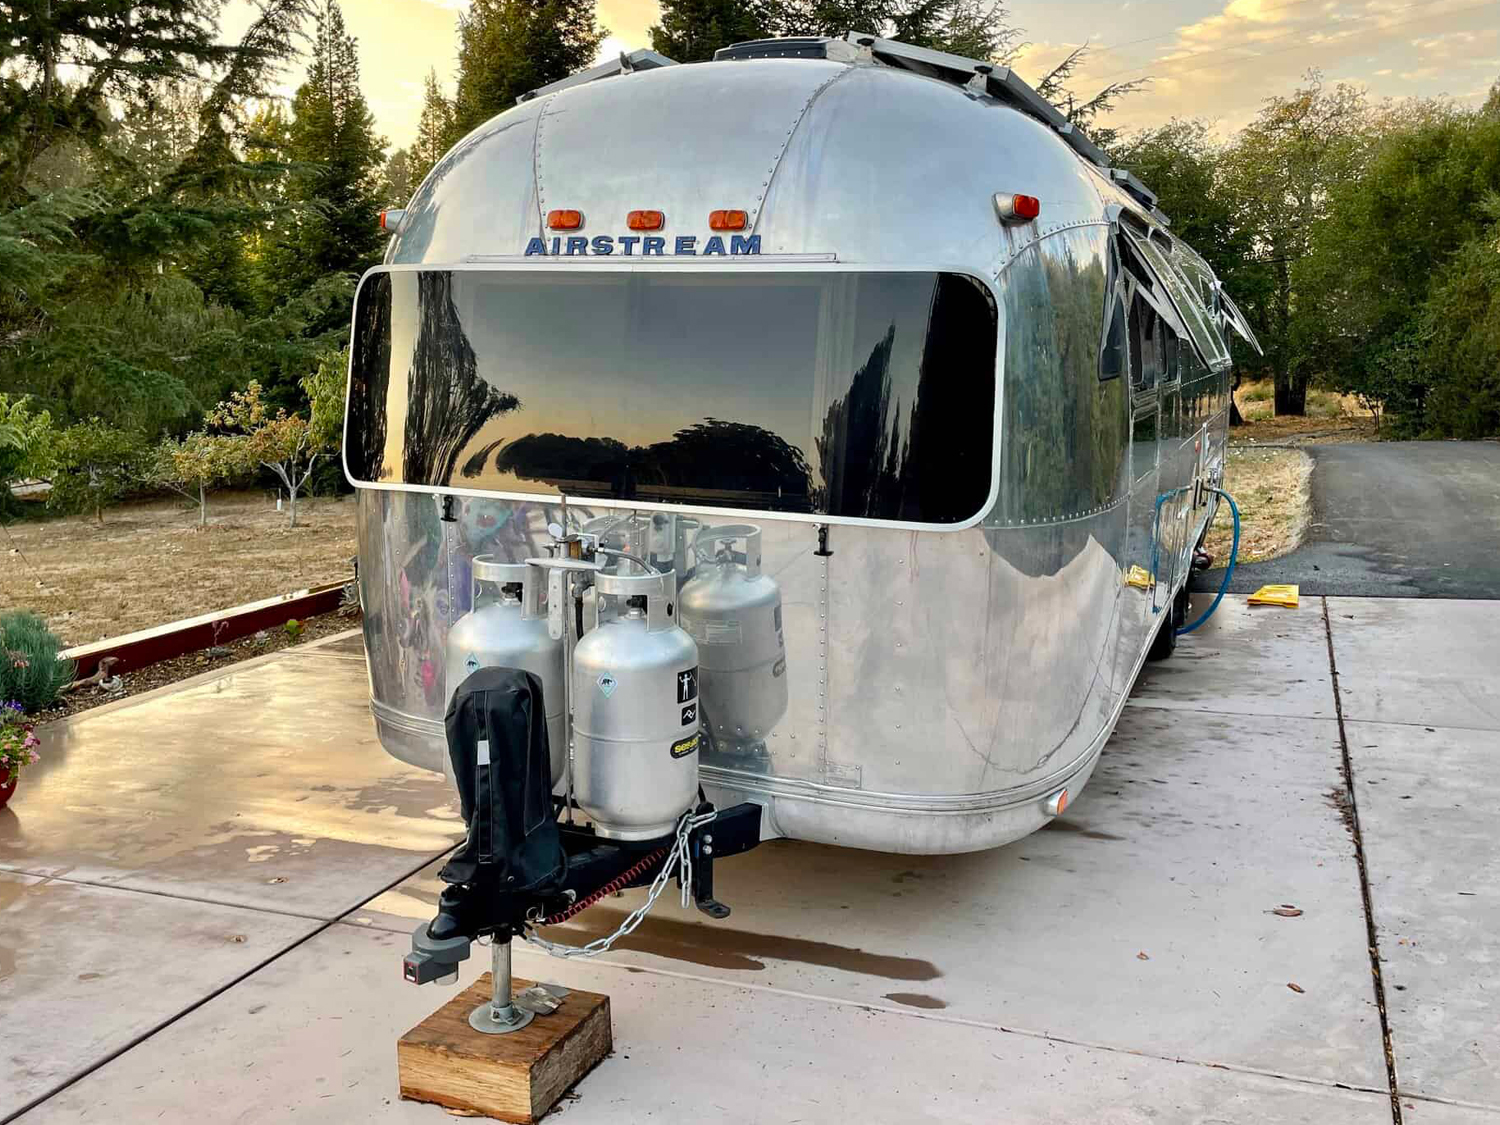
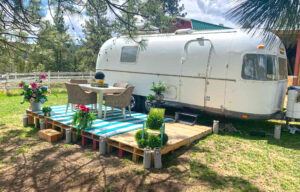
Ever dream of breathing new life into a classic Airstream? It’s easier than you think—and honestly, there’s nothing quite like seeing that gleaming silver shell roll out of your driveway, looking better than ever. If you’re ready to dive in, here’s exactly how to get started on your own Airstream restoration adventure.
1. Start With a Full Inspection
Get to Know Your Project—Inside and Out!
Before you reach for the hammer, take a slow walk around your Airstream. This first step is all about discovery. Your goal? Find out what needs fixing, what needs love, and what still has that classic charm.
- Check the aluminum shell: Do you see dents, scratches, or tiny holes? Run your hand along the side—you might spot little dings or leaks that need attention.
- Look for water trouble: Step inside and feel for soft spots on the floor. Any soggy or bouncy areas are signs of hidden water damage.
- Peek underneath: Rust on the frame or axles can spell big problems down the road. A quick look now can save you major headaches later.
- Sniff out rot and mold: Open cabinets, check behind walls, and peek under floors. A musty smell means it’s time to roll up your sleeves.
- Inspect windows and vents: Are any cracked, broken, or missing? Good airflow is a must in an Airstream.
- Scan wiring and plumbing: Frayed wires or old pipes are not just outdated—they’re unsafe.
Pro tip: Take lots of photos as you go. It’s a great way to track your progress (and makes for satisfying “before and after” shots).
2. Plan Your Budget and Project Scope
Dream Big—But Keep It Real!
Now that you know what you’re working with, it’s time to make a plan. Airstreams can be a blank canvas for your wildest design dreams, but they can also sneak in some surprises. Setting a clear budget and project scope keeps things on track.
- Full renovation or simple refresh? Decide if you want to gut everything and start from scratch, or just make a few key updates.
- Stick to your budget: Set aside some extra funds—old trailers love to hide “surprises.”
- Timeline check: Think about how much time you can really devote to the project. Will this be a weekend hobby or an all-in adventure?
- Make a list: Write down “must-haves” (like fixing leaks or updating wiring) and “nice-to-haves” (like new curtains or a funky backsplash).
- Get advice: Join online Airstream forums, visit local RV shops, and ask for help. Most Airstream owners love to share tips and swap stories.
3. Demo Day: Gut the Interior
Out With the Old—Make Room for the New!
Here comes the fun (and sometimes messy) part! Stripping out the old interior helps you see the bones of your Airstream. Take it slow, and stay organized as you go.
- Remove cabinets, furniture, and appliances: Use a screwdriver, not brute force. You might want to reuse or restore some of the classic hardware.
- Take down wall and ceiling panels: Look for hidden screws, staples, or glue. Peel everything back so you can check for damage.
- Pull up old flooring and insulation: Sometimes you’ll find surprises underneath, like soft spots, old fiberglass, or even critter nests!
- Keep an eye out for hidden problems: Water damage, mold, or rotted wood can be hard to spot until the old stuff is gone.
- Save what you can: Vintage drawer pulls, trim, or signs can often be polished up and used again for a true “retro” touch.
Demo day is your chance to uncover the real story of your Airstream—and get ready for the next exciting steps.
4. Repair the Frame and Floor
Build From the Ground Up for Long-Lasting Strength!
Think of the frame and floor as your Airstream’s backbone. If these parts are solid, everything else will be, too. Even the most beautiful interior needs a sturdy base.
- Inspect for rust: Crawl underneath and look for orange spots or flaky metal. Rust eats away at the frame, so this step is key.
- Clean, treat, and repaint: Use a wire brush to scrub away rust, then treat the metal with rust converter. Finish with a strong coat of rust-proof paint.
- Check the subfloor: Feel for any soft, spongy, or stained spots. Rotten wood can’t support your new floors—or your furniture!
- Replace damaged wood: Pull out old, weak boards and install new plywood. Don’t cut corners—quality wood will last for years.
- Seal it up: Before you add flooring, coat the subfloor with a waterproof sealer. This keeps future leaks and moisture from sneaking in.
A rock-solid floor means every step inside your Airstream feels safe and sturdy. You’re literally building your dreams on a firm foundation!
5. Fix the Exterior
Make That Silver Shell Shine Like New!
Nothing turns heads like a freshly polished Airstream. But there’s more to this step than good looks. Sealing and repairing the exterior keeps the weather out and the comfort in.
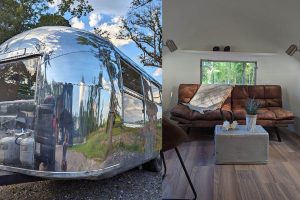
- Wash and polish the shell: Start with soap and water to remove old grime. Then grab a specialty aluminum polish and a bunch of soft cloths. Buff until you can see your reflection—trust us, it’s worth it!
- Repair and reseal: Spot a dent or a hole? Patch it with aluminum repair tape or a proper patch kit. Reseal all seams with butyl tape, then replace or add fresh rivets. Every seam and corner matters—water can find the tiniest crack!
- Upgrade windows, doors, and lights: Broken windows let in rain and bugs. Replace old gaskets and seals. Swap out faded lights for bright, energy-saving LEDs. Fix or replace doors so they close tight and look sharp.
This step protects your investment and keeps your Airstream ready for whatever weather comes your way. Plus, nothing feels better than seeing that iconic shine after a hard day’s work!
6. Update Plumbing, Electrical, and HVAC
Modern Comforts, Classic Style!
Your Airstream may be vintage, but your systems should be brand new. Modern wiring, plumbing, and HVAC mean you can camp anywhere—with all the comforts of home.
- Upgrade electrical: Remove all old, unsafe wiring. Replace with new wires that meet today’s standards. Add outlets and USB ports where you need them.
- Plumbing made easy: PEX tubing is flexible, easy to install, and resists freezing. Update sinks, showers, and drains for fresh water everywhere.
- Climate control: Think about adding a tankless water heater for endless hot showers. If you travel in different climates, a new AC or furnace is a must.
- Solar power: Want true freedom? Add solar panels on the roof. Charge your batteries, run your lights, and even power small appliances—all off-grid!
- Call in the pros: If you’re unsure about wiring or plumbing, hire a pro. Or ask questions in Airstream owner forums—there’s a huge, friendly community ready to help.
Updating these systems means you get the best of both worlds: classic style, modern comfort, and total peace of mind.
7. Insulate and Install New Interior Panels
Comfort Starts With Cozy Walls!
Don’t let your Airstream get too hot in summer or chilly on cold nights. Good insulation makes all the difference. Start by picking the right type for your climate:
- Foam board is easy to cut and install, great for steady temperatures.
- Spray foam fills every gap, sealing out drafts and moisture—perfect for big climate swings.
Before you close up the walls, double-check your wiring! Plan exactly where wires will run for outlets, lights, and speakers. Once the panels go up, it’s much harder to change your mind.
When it’s time to finish the inside, birch plywood is a classic choice. It’s warm, bright, and has that “vintage Airstream” feel. But don’t be afraid to get creative! You can stain, paint, or even wallpaper your panels to match your style.
8. Build Out the Interior
Turn a Shell Into a Home!
Now the magic really starts. This step is all about making your space work for you:
- Reinstall or build new cabinets, beds, and storage. Old cabinets can be sanded, painted, or replaced. Think about how you use the space—every inch counts!
- Pick durable flooring. Vinyl planks and Marmoleum are both tough and easy to clean. Plus, they handle temperature changes without cracking.
- Add appliances that fit your needs. Go modern with a new fridge and stove, or keep the retro look by restoring originals.
- New upholstery and window treatments make the space warm and cozy. Think soft cushions, blackout curtains, and fun pillows to add color.
Each choice here adds comfort and personality—so make it feel like you.
9. Final Touches
Bring Out the Wow Factor!
You’re almost done! Now it’s time to add those small details that make your Airstream special.
- Soft lighting: Try string lights, lanterns, or LED strips for a gentle glow.
- Greenery: Potted plants and herbs add life, even in a tiny space.
- Personal touches: Hang up photos, art, or mementos from your travels.
Don’t forget the essentials: Pack up your camping gear, stock the kitchen, and make sure you have all safety basics covered—smoke detectors, fire extinguishers, and a first-aid kit. Peace of mind lets you enjoy every trip.
10. Hit the Road and Enjoy!
Time to Celebrate!
It’s finally here—the moment you’ve been working toward. Take your freshly restored Airstream on a test camp. Make sure everything works, from the lights to the stove. Fix any last-minute surprises.
Most of all, enjoy every second. Your hard work turned an old shell into a beautiful, rolling home.
Pro Tips for a Successful Restoration
- Be patient: Restoration is a journey. Some steps take longer than you think.
- Ask for help: Join Airstream owner groups online. They love to share advice!
- Keep learning: Watch videos, read books, and look for tips from others who’ve done it.
- Mix old and new: Don’t be afraid to add your own style. A little modern with the vintage is always fun.
The Bottom Line
Restoring an Airstream is about more than fixing up a trailer. It’s about breathing new life into a classic and making it your own. Every dent you fix and every screw you tighten gets you closer to the moment you step inside and say, “Wow. I did this.”
So, go ahead—shine on! Your dream Airstream is just waiting for you to bring it back to life.
Related posts:
 Stunning 2022 Wildwood RV Trailer: Inspiring Remodel Ideas
 2022 Sanibel Fifth Wheel: Inspiring Exterior and Interior Remodel Ideas
 33 Stunning Permanent RV Camper Outdoor Set Up Ideas: Turn Your Site Into a Dreamy Escape
 This 1960 Airstream Ambassador Remodel Is the Perfect Blend of Vintage Soul and Modern Style
 Step Inside This Cozy Vintage Camper Trailer Makeover
 Step Inside This 1962 Shasta SCS Vintage Camper Trailer Remodel
 Step Inside This Delightfully Retro 1966 Frolic Vintage Camper Trailer Remodel
 5th Wheel Permanent Setup with Dream Deck & Homey Touches
 Inside This Beautifully Remodeled 2013 Montana Fifth Wheel That Feels Just Like Home
 Step Inside This Charming Airstream Remodel That Feels Like Home on Wheels