Ever dreamed of hitting the open road in a retro camper? Vintage trailers are full of charm, nostalgia, and adventure. But before you buy one, there’s a lot more to consider than just cute curtains and shiny aluminum. Don’t let a hidden leak or old wiring turn your dream into a costly headache. Ready to find a classic camper that truly fits your style—and your budget? Here’s your complete, easy-to-follow guide to buying a vintage camper trailer.
Why Choose a Vintage Camper?
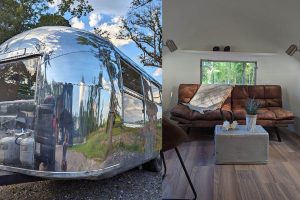
There’s just something special about a vintage camper trailer. Maybe it’s the gleaming curves of an old Airstream, the playful color schemes, or the feeling of stepping back in time. But vintage trailers aren’t just for show—they offer a sense of freedom, creativity, and a close-knit camping community. Plus, they make every road trip feel like a storybook adventure.
But these old beauties also come with their quirks. They need care, upgrades, and sometimes a little elbow grease. The good news? If you know what to look for, you can avoid the biggest headaches and find a trailer you’ll love for years.
Start with Your Dream: Define Your Needs
Before you even start shopping, take a minute to picture your ideal camping trips. Are you dreaming of weekend getaways with a partner? Or do you want to hit the road for weeks with your whole family? Maybe you want a tiny glamper for solo escapes or a bigger trailer to host friends.
Ask yourself:
- How many people will use the camper?
- Do you want a bathroom inside?
- How much kitchen space do you need?
- Will you camp off-grid, or mostly at RV parks?
- How much are you willing to spend—up front and on future repairs?
These answers will help you narrow your search and avoid trailers that just aren’t right for you.
Set a Realistic Budget (and Don’t Forget Hidden Costs)
Vintage campers can be surprisingly affordable—or shockingly expensive. Prices depend on brand, age, size, condition, and how “original” or renovated they are.
But don’t just plan for the sticker price. Think about:
- Registration and taxes: These can vary by state.
- Transport: Will you need to tow it across the country?
- Immediate repairs: Even a “ready to camp” trailer may need updates.
- Upgrades: You might want to add air conditioning, new appliances, or even solar power.
- Ongoing maintenance: Old trailers need regular TLC.
A realistic budget helps you shop with confidence—and avoid buying more project than you can handle.
Location, Location, Location
Where will you shop? Local sellers mean you can check the trailer out in person. But online listings (like Craigslist, Facebook Marketplace, RV Trader, and dedicated vintage camper forums) give you more choices. Sometimes the best finds are hours—or even states—away. If you buy long-distance, always ask for lots of photos, videos, and details before committing to travel.
What to Look For: The Complete Checklist
Now for the fun (and important) part! When you find a camper you like, it’s time for a detailed inspection. Bring a notepad, a flashlight, and your phone to take photos. If possible, bring a friend who knows campers or home repair.
1. Frame and Structure
- Rust and Rot: Look under the trailer for rust on the frame. A little surface rust is common, but deep flaking or holes are big red flags. Check the floor by pressing along edges and inside storage compartments—spongy spots mean water damage or rot.
- Welding and Repairs: Look for signs of bad welding or patch jobs on the frame. Sloppy repairs could mean past accidents or poor maintenance.
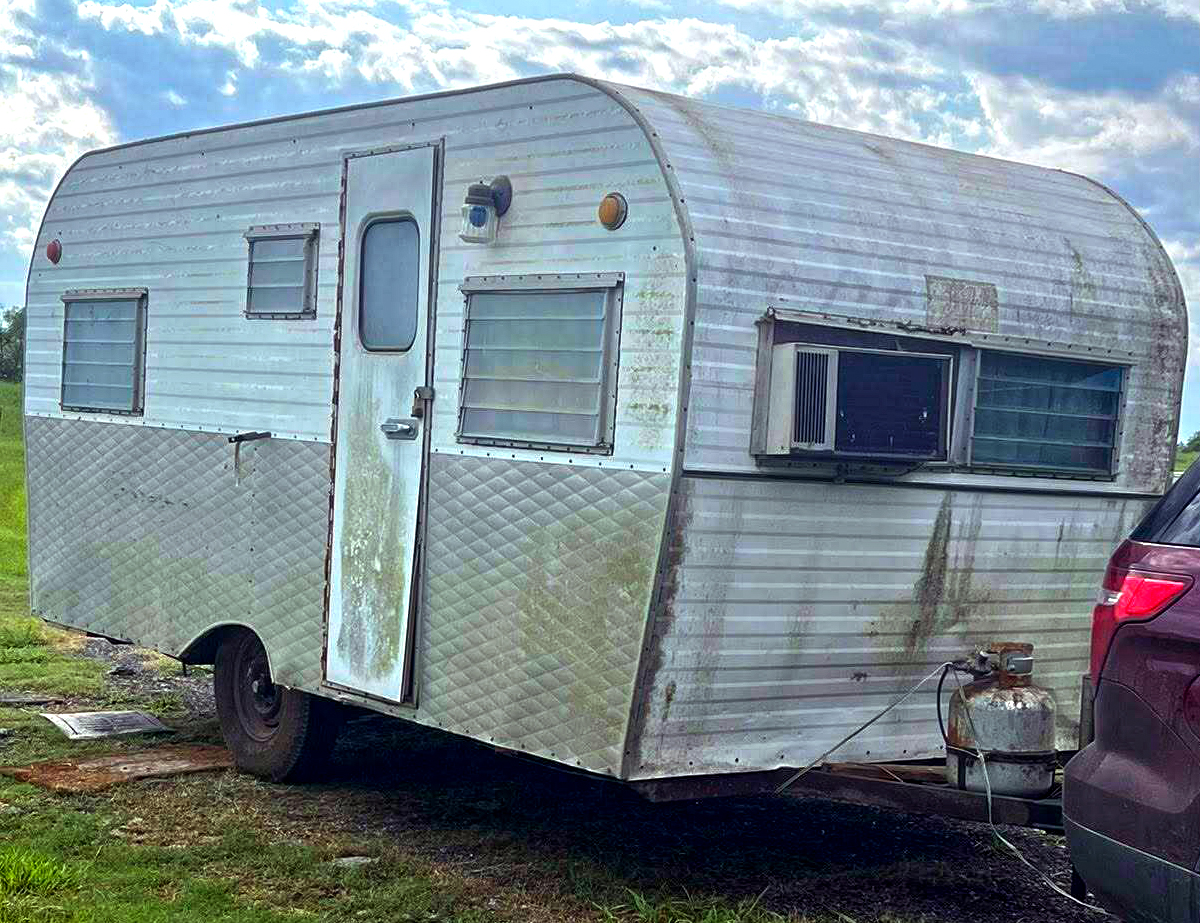
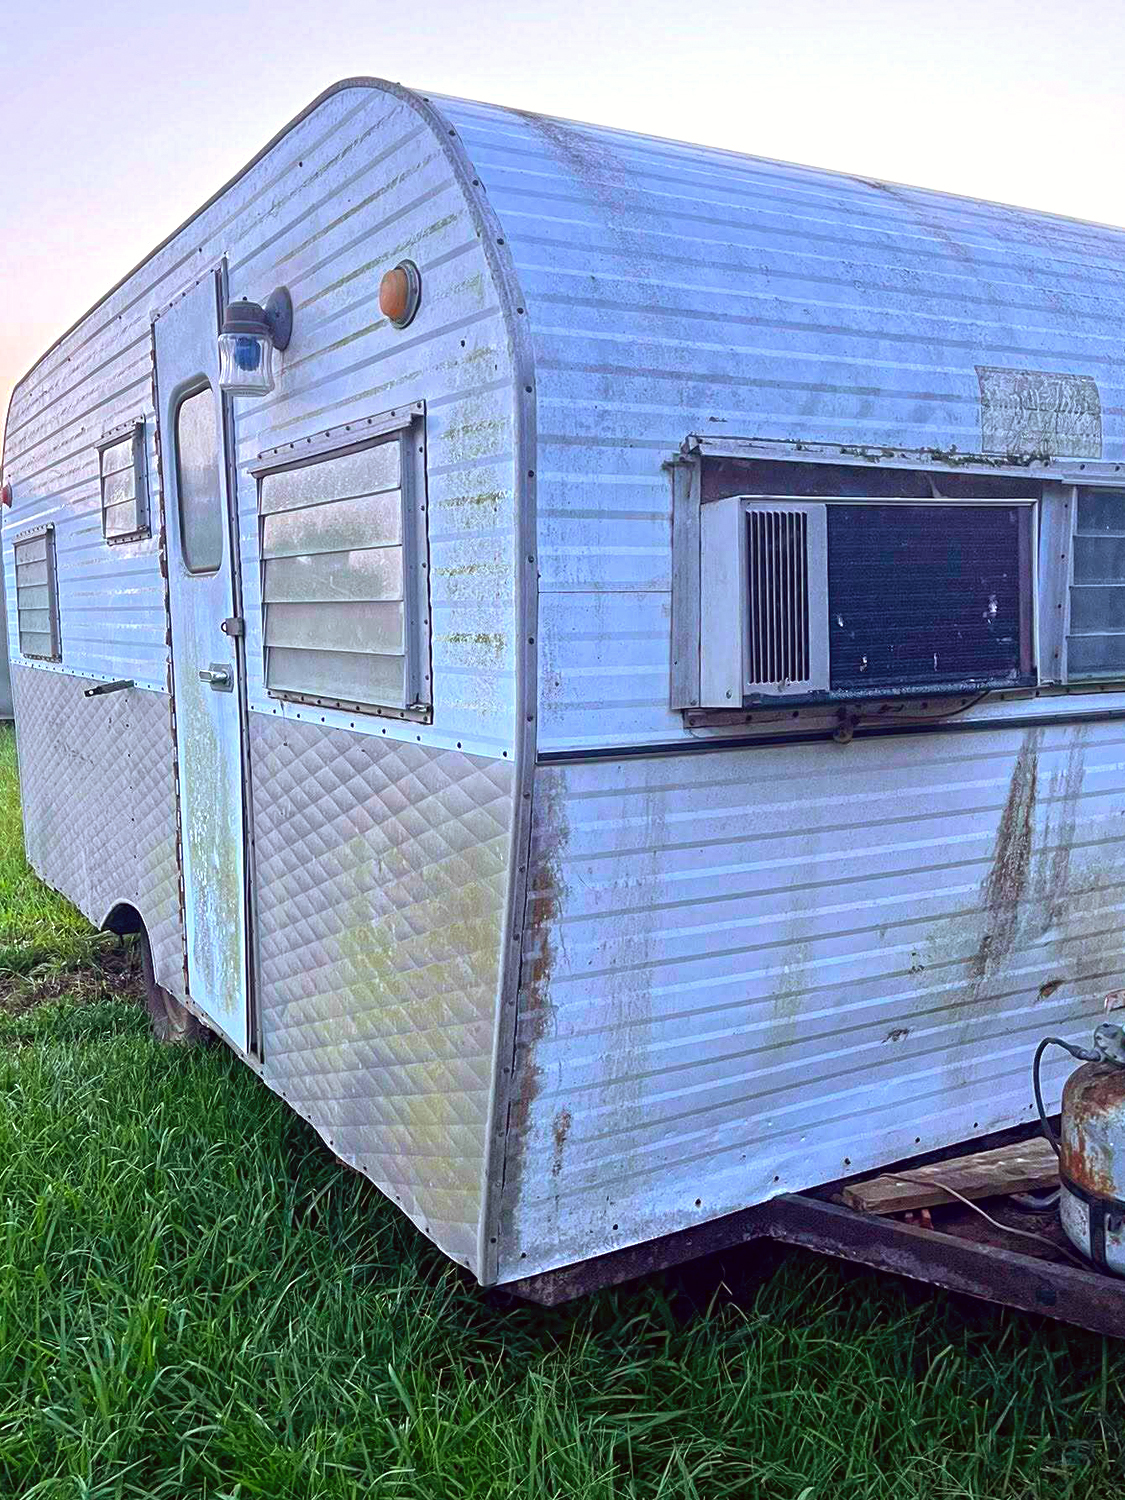
2. Exterior Body
- Leaks: Water is the enemy of old campers. Walk around the trailer and check for cracked caulk, gaps, or missing rivets. Open and close all windows and doors. Water stains, soft walls, or a musty smell are big clues that leaks have happened—or still are.
- Panels and Siding: Aluminum trailers like Airstreams can dent but rarely rust. Steel trailers may have rust spots. Check for missing panels, mismatched repairs, or signs that the body isn’t straight. Wavy sides can mean hidden damage.
- Roof: Look for cracks, patches, or sagging areas. Inspect roof vents, AC units, and any antennas. These are common leak points.
3. Windows and Doors
- Seals and Latches: Make sure all windows open, close, and latch securely. Broken seals let in water and bugs.
- Glass: Check for cracks, chips, or foggy glass. Replacing vintage windows can be expensive!
- Screens: Torn screens are easy to replace, but missing frames may be harder to find.
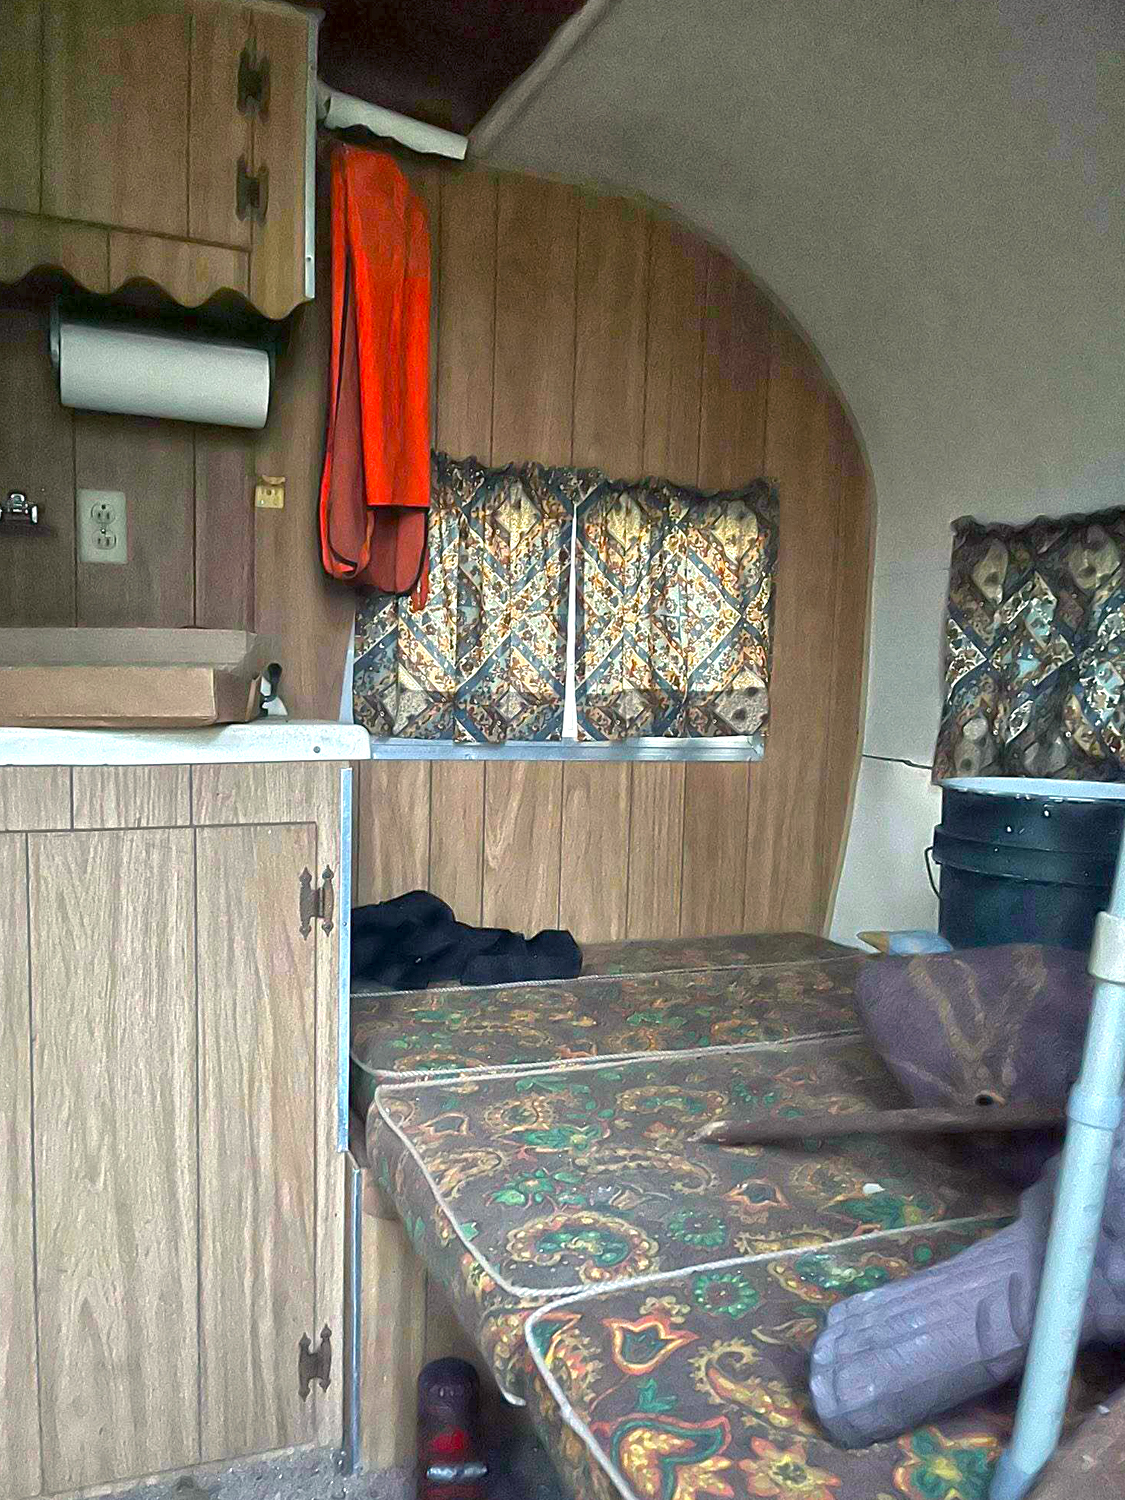
4. Interior Condition
- Floors: Walk every inch. Listen for squeaks and feel for soft spots. Check under rugs and inside cabinets for hidden damage.
- Walls and Ceiling: Look for water stains, peeling wallpaper, warped wood, or sagging ceiling panels.
- Cabinets and Furniture: Open every drawer and cabinet. Check for sticking, warping, or mildew smells. Original cabinetry is a big plus, but mold is a major issue.
5. Plumbing and Bathroom
- Pipes: Old pipes (especially metal or brittle plastic) can crack and leak. Look under the sink, around the toilet, and at the water heater.
- Water Tanks: If the trailer has a fresh or gray water tank, check for cracks, leaks, or patches.
- Toilet/Shower: Make sure everything works, drains, and doesn’t smell. Upgrading old plumbing can be expensive.
6. Electrical System
- Wiring: Vintage trailers often have outdated wiring. Look at the breaker box, outlets, and light fixtures. Test everything—lights, outlets, and any built-in appliances. If the seller won’t plug it in, be extra cautious.
- Battery and Converter: Modern camping needs safe, reliable power. Old trailers may need a new converter, batteries, or even a full rewire.
- Appliances: Test the fridge, stove, oven, and any other appliances. Parts for old appliances can be hard to find and costly to repair.
7. Propane System
- Tanks and Lines: Check that the propane tanks are in good condition and have up-to-date certification. Inspect lines and regulators for cracks, leaks, or rust.
- Appliance Function: If possible, test the stove, oven, furnace, or water heater with propane running. If anything smells like gas, turn everything off and walk away.
8. Tires, Axles, and Towing
- Tires: Even if the tires look new, check the date code. Old rubber can be unsafe, even with plenty of tread.
- Bearings and Axles: Ask when the bearings were last greased. Look for oil leaks or worn parts.
- Brakes and Lights: Test the trailer brakes and all lights. You’ll need these working to tow safely.
- Hitch and Chains: Inspect the hitch, safety chains, and wiring harness. Rust or bad welds here are serious.
9. Title and Paperwork
- Title: Always check for a clear, signed title. Make sure the VIN matches the paperwork and the trailer. If there’s no title, research your state’s process for getting one. It can be hard or even impossible.
- Registration: Ask for recent registration, especially if the trailer has been stored a long time.
- Bill of Sale: Always get a signed bill of sale with the seller’s info and trailer details.
Red Flags: When to Walk Away
Some problems are fixable. Others will cost more than the trailer is worth. Watch out for:
- Frame rot or severe rust
- Massive water damage or mold
- Missing title or serial number
- Sagging roof or walls
- Broken axles or unsafe hitch
- Rodent infestations
If you spot any of these and the seller can’t show a repair history, it’s best to keep looking.
The Importance of an Inspection
If you’re not handy—or even if you are—consider paying for a professional inspection. Some RV repair shops or mobile mechanics can check out the trailer before you buy. A small upfront fee can save you thousands and a world of stress.
Common Vintage Camper Brands to Look For
A few brands have stood the test of time. If you want style, history, and a strong owner community, keep an eye out for:
- Airstream: Iconic aluminum, super durable, always popular
- Shasta: Cute wings, playful mid-century style
- Scotty: Small, light, easy to tow
- Serro Scotty: Known for their “canned ham” shape
- Avion: Similar to Airstream, great quality
- Aladdin, Aristocrat, Boler, Burro, Holiday Rambler, Serro, and more: All have their own fans and features
Do a little research on your favorite styles before you shop, so you know what’s original and what’s been changed.
Questions to Ask the Seller
A friendly seller should be open and honest. Don’t be shy—ask:
- How long have you owned the camper?
- Where has it been stored (indoors, outdoors)?
- When was it last used?
- Any leaks or water damage?
- What repairs or upgrades have you done?
- Any issues with the title or registration?
- Why are you selling?
If the seller seems pushy or avoids questions, that’s a warning sign.
How to Make a Deal
If you find a camper you love, and the inspection checks out, it’s time to talk numbers. Don’t be afraid to negotiate. Use any repairs needed as bargaining chips. Have your payment, paperwork, and a way to tow the trailer ready.
Final Steps Before You Tow It Home
Congratulations—you’re about to become a vintage camper owner! Before you hitch up and hit the road, double-check:
- All doors, windows, and compartments are latched
- Tires are safe and inflated
- Lights and brakes work
- You have the title, bill of sale, and any manuals
- You know the trailer’s weight and towing requirements
- You have proper insurance
Enjoy the Adventure!
Owning a vintage camper trailer is more than just a hobby—it’s a lifestyle. You’ll meet new friends, learn new skills, and create amazing memories on every trip. And with the right research and prep, you’ll avoid most of the headaches that come with owning a piece of rolling history.
So, whether you’re dreaming of peaceful lake views, mountain escapes, or just weekend getaways in style, use this guide to shop smart. With a little patience and some careful inspection, you’ll find the vintage camper that’s perfect for your next adventure. Happy travels!
Related posts:
 Step Inside This Cozy Vintage Camper Trailer Makeover
 Vintage 1966 Airstream Safari Twin Gets a Fresh New Life
 Charming 1965 Airstream Globetrotter: Inspiring Vintage Camper Trailer Makeover
 Step Inside This 1962 Shasta SCS Vintage Camper Trailer Remodel
 Step Inside This Delightfully Retro 1966 Frolic Vintage Camper Trailer Remodel
 A Cheerful Remodel of This 1969 Volunteer Vintage Camper Trailer
 31 Stunning Vintage Camper Trailer Exteriors
 Vintage Camper Trailer: 1964 Shasta Airflyte
 25 Vintage Camper Interiors That Wow